Artificial intelligence and automation tools are getting more powerful every month — but most people still waste hours every week doing boring, repetitive clicks.
That’s exactly what n8n helps you kill.
If you’re a beginner, this guide will show you:
- What n8n is (in plain language)
- The core concepts you must understand
- How to get set up (cloud or local)
- And a step-by-step example workflow you can build in about 20 minutes:
“When a new contact is added to a Google Sheet, automatically send them a welcome email.”
You can copy this pattern for dozens of other automations.
1. What Is n8n?
At a high level:
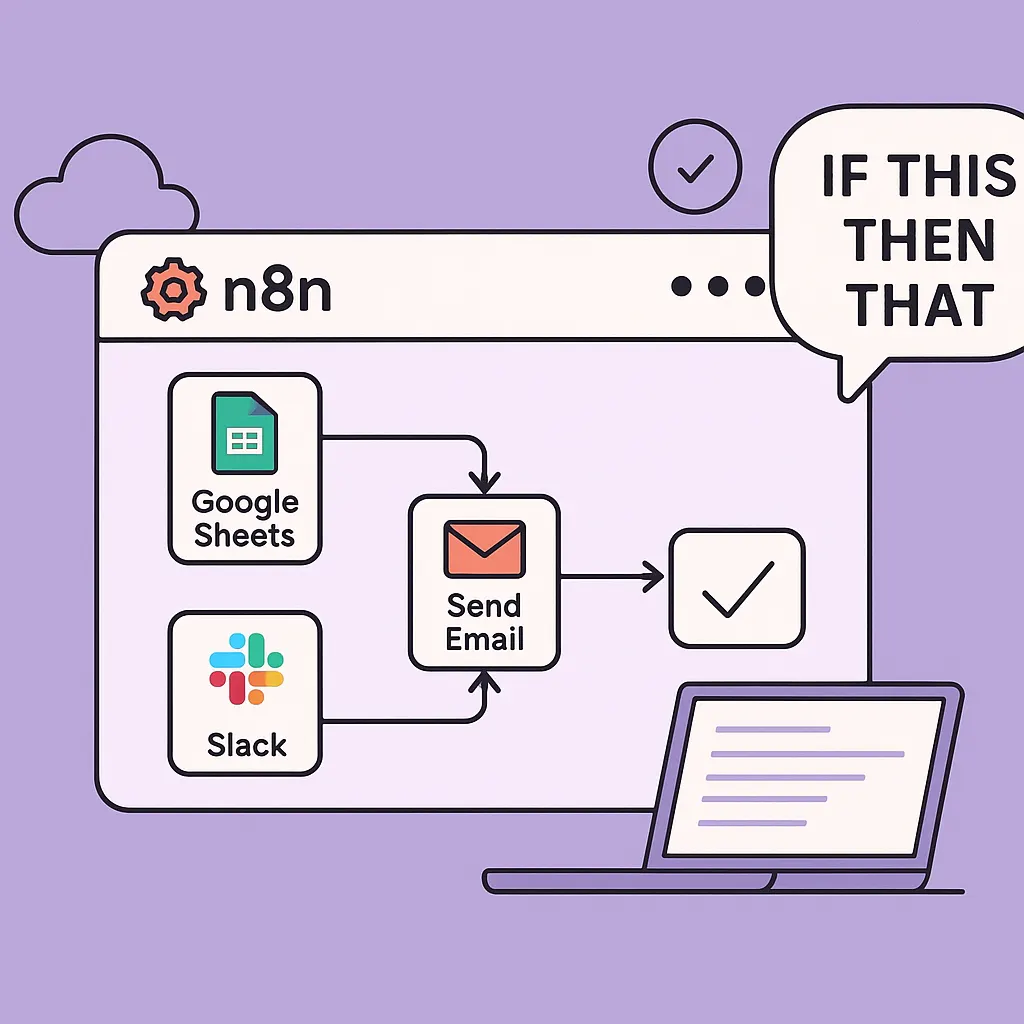
n8n is a visual automation tool where you connect apps with drag-and-drop nodes to build workflows — no heavy coding required.
Think of it like a visual “IF THIS THEN THAT” on steroids:
- “If a new lead is added to my CRM → send me a Slack alert.”
- “If a form is submitted → save it to Google Sheets → send a confirmation email.”
- “Every morning → pull data from an API → write a summary → email it to me.”
You design these flows on a canvas. Each box (node) does something:
trigger, fetch data, transform it, or send it somewhere.
2. Key Concepts for Beginners
Before we build anything, here are four simple ideas that will make n8n feel natural.
Workflow
A workflow is your whole automation — a set of connected nodes that run together.
Example:
Google Sheets (new row) → Gmail (send email) → Slack (notify you).
Nodes
A node is one step in your workflow.
There are two main types:
- Trigger nodes – tell n8n when to start the workflow
- e.g., Cron (every morning), Webhook (when called), “New row in Google Sheets”, “New email”, etc.
- Regular nodes – do work
- e.g., HTTP Request, Gmail, Slack, Set, IF, Code, etc.
Credentials
To let n8n talk to tools like Google Sheets, Gmail, Slack, etc., you store credentials (API keys or OAuth connections).
You usually set these once, then re-use them in multiple workflows.
Executions
Every time your workflow runs, that run is called an execution.
You can open an execution in n8n and see:
- what data arrived
- what each node produced
- where any errors occurred
This is incredibly useful for learning and debugging.
To Create N8N Workflow Like Pro visit here BotCampusAi-WorkShop
3. Set Up n8n (Cloud or Local)
You have two main options.
Use n8n Cloud (Easiest for Beginners)
- Go to n8n’s official cloud site.
- Create an account and log in.
- You’ll land in the Editor UI, ready to create your first workflow.
You don’t worry about servers, Docker, or hosting — perfect for getting started.
Self-Host n8n (For Tinkerers)
If you like running your own stack:
- Install via Docker or npm on your VPS / local machine
- Set
N8N_HOST,N8N_PORT, etc. - Visit your URL (e.g.,
http://localhost:5678) to open the editor
You can always start on Cloud, then move to self-hosted later.
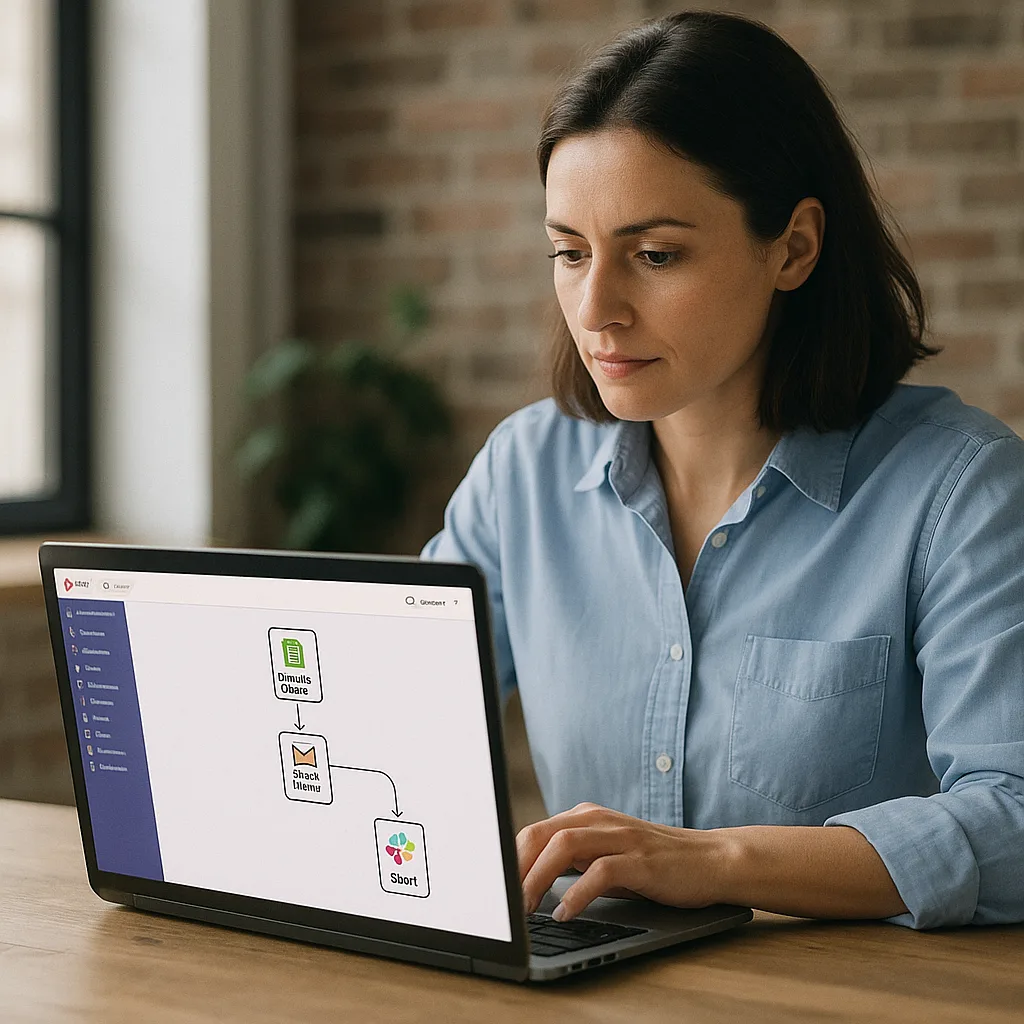
4. Build Your First Automation: “Welcome Email from Google Sheets”
Let’s build a simple but realistic workflow:
Whenever a new contact is added to a Google Sheet, n8n sends them a personalized welcome email.
This is perfect for:
- Newsletter signups
- Webinar registrations
- Course waitlists
- Simple lead capture forms
We’ll use:
- Google Sheets node – to detect new contacts
- Gmail node – to send the email
- (Optional) Slack node – to notify you when someone signs up
Step 1: Create a New Workflow
- Open your n8n editor (Cloud or self-hosted).
- Click “New” or “Add Workflow”.
- At the top left, rename it to something like:
Welcome Email from Google Sheets.
You’ll see an empty canvas with a single Start node (in some versions) or no nodes yet.
Step 2: Create Your Google Sheet
In your Google Drive:
- Create a new Google Sheet named:
Newsletter Signups - Set up columns in the first row, for example:
-
TimestampNameEmail
-
Add one or two test rows with your own email so you can test the flow.
Later, your form (Google Form, website, Typeform, etc.) can write to this sheet.
Step 3: Add a Google Sheets Trigger Node
Back in n8n:
- Click the “+” button on the canvas.
- Search for “Google Sheets” and add it.
- Set Operation to something like “Watch for new rows” (exact name depends on version).
- Click “Credentials” → “Create new” and connect your Google account.
- Choose:
-
- The Spreadsheet (
Newsletter Signups) - The Sheet (e.g.,
Sheet1)
- The Spreadsheet (
This node will now act as the trigger whenever a new row appears.
Behind the scenes, n8n periodically checks your sheet. When it detects a new row, it grabs that row’s data and passes it downstream as JSON.
Step 4: Add a Gmail Node to Send the Welcome Email
- Click the little plus icon to the right of the Google Sheets node to add the next step.
- Search for “Gmail” and add the Gmail node.
- Connect your Google account via Credentials too (this can be the same or different account).
Now configure the email:
- From: (auto-set to your Gmail)
- To: click in the field and use the expression picker (gear/curly braces icon)
- Select the
Emailfield from the previous node’s output.
- Select the
- Subject:
Welcome to our newsletter, {{$json["Name"]}}! - Body:
n8n will merge the values from each new row dynamically.
Step 5: (Optional) Add a Slack Notification Node
If you want to know whenever someone signs up:
- Click the plus icon to the right of the Gmail node.
- Add a Slack node.
- Set up Slack credentials.
- Choose a channel like
#new-signups. - In the message field, use something like:
This is optional, but it makes your first workflow feel more “alive.”
Step 6: Test the Workflow
- Turn on “Test” or click “Execute Workflow”.
- Add a new row to your Google Sheet:
- Timestamp:
=NOW() - Name:
Test User - Email: your personal email
Within a moment:
- The Google Sheets node should detect the new row.
- The Gmail node should send the welcome email.
- (Optional) The Slack node should post a message in your channel.
If something fails:
- Open the Executions tab in n8n.
- Click the failed run.
- See exactly which node errored and what data it received.
- Fix credentials / permissions / field names, and run again.
Step 7: Activate the Workflow
Once you’re happy with testing:
- Toggle the “Active” switch for the workflow.
Now, every time a new contact is added to the sheet, n8n will:
- Send them a personalized welcome email
- (Optionally) Notify you in Slack
That’s your first real automation up and running.
5. Ideas for Your Next n8n Automations
Once you’ve done one, your brain will start seeing patterns everywhere. Here are a few ideas you can build with almost the same logic:
- Auto-follow-up on leads
- Trigger: new row in “Leads” sheet
- Action: send email + add a task in your CRM / task manager
- Daily summary email
- Trigger: Cron node (e.g., 9:00 every morning)
- Actions:
- Pull recent data (form fills, sales, tickets)
- Summarize with an AI node (OpenAI, etc.)
- Email yourself a one-page summary
- Support inbox helper
- Trigger: IMAP / Gmail new email
- Filter: only messages with specific subject (e.g., “support@…”)
- Actions:
- Log to a sheet or ticketing system
- Send an auto-reply confirmation
- Post a notification in Slack/Teams
- File → Cloud → Notification
- Trigger: new file uploaded to a specific folder (Drive/Dropbox)
- Actions: move/rename file, extract text, notify a channel.
6. Final Thoughts
You don’t need to be a “devops guru” or “full-stack engineer” to start automating your work.
With n8n you can:
- Visually design workflows
- Connect tools you already use
- Start small with a single automation
- Gradually add complexity as you get comfortable
If you keep iterating, you’ll soon have a network of little workflows quietly saving you hours every week — while you focus on creative, high-value work.
If you want more step-by-step automation guides, AI-powered workflows, and n8n + agents examples, keep an eye on
BotCampusAI — we’ll keep sharing builds you can plug directly into your own setup.